


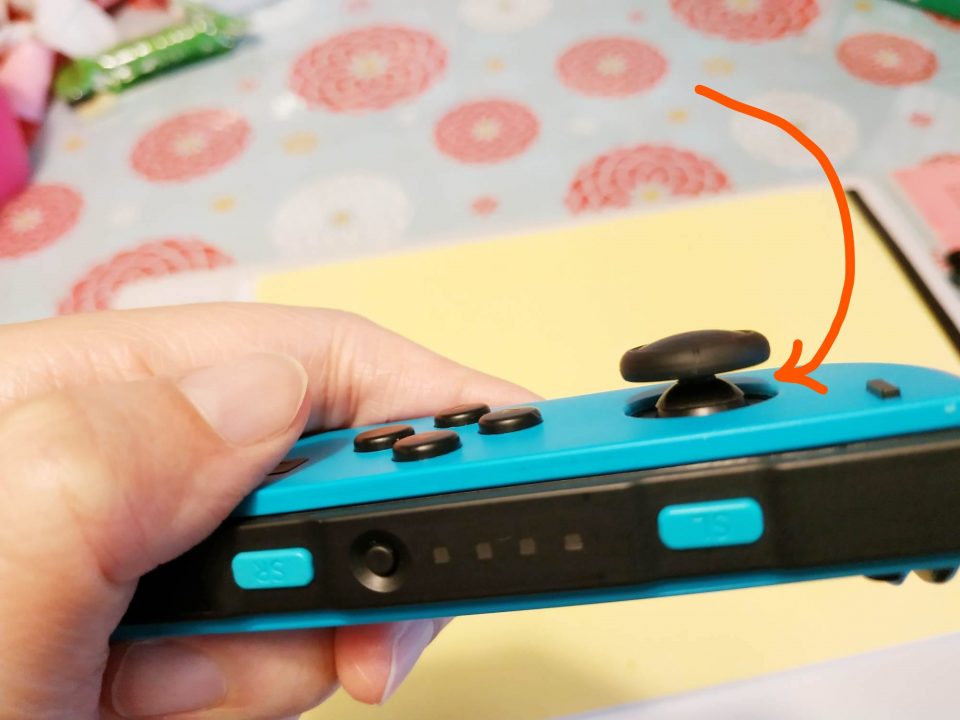
When my left Joy-Con began drifting, I was dismayed. This first happened while playing Breath of the Wild.
My character had ascended to the top of his first tower. It was an exhilarating moment, surveying the vast landscape all around. Where should I go next, I pondered. To those mysterious ruins? To that calm lake? My Joy-Con decided for me: an unexpected step over the edge, plummeting hundreds of feet below. Game over.
This eventually led to an attempt to fix my Joy-Con. I blogged in detail about this DIY experience, which I’ll summarize below. But first, a quick primer on Joy-Con drift, in case you’re new to the subject.
What Causes Joy-Con Drift?
Joy-Con drift is a hardware problem that has occurred for some Nintendo Switch players. It’s when the Joy-Con thinks you’re moving the control stick though you aren’t.
There’s plenty of speculation about what causes drift, the most popular explanations being dust/dirt particles or wear and tear. Several potential fixes are available (see the next section), which suggests that there could be more than one cause.
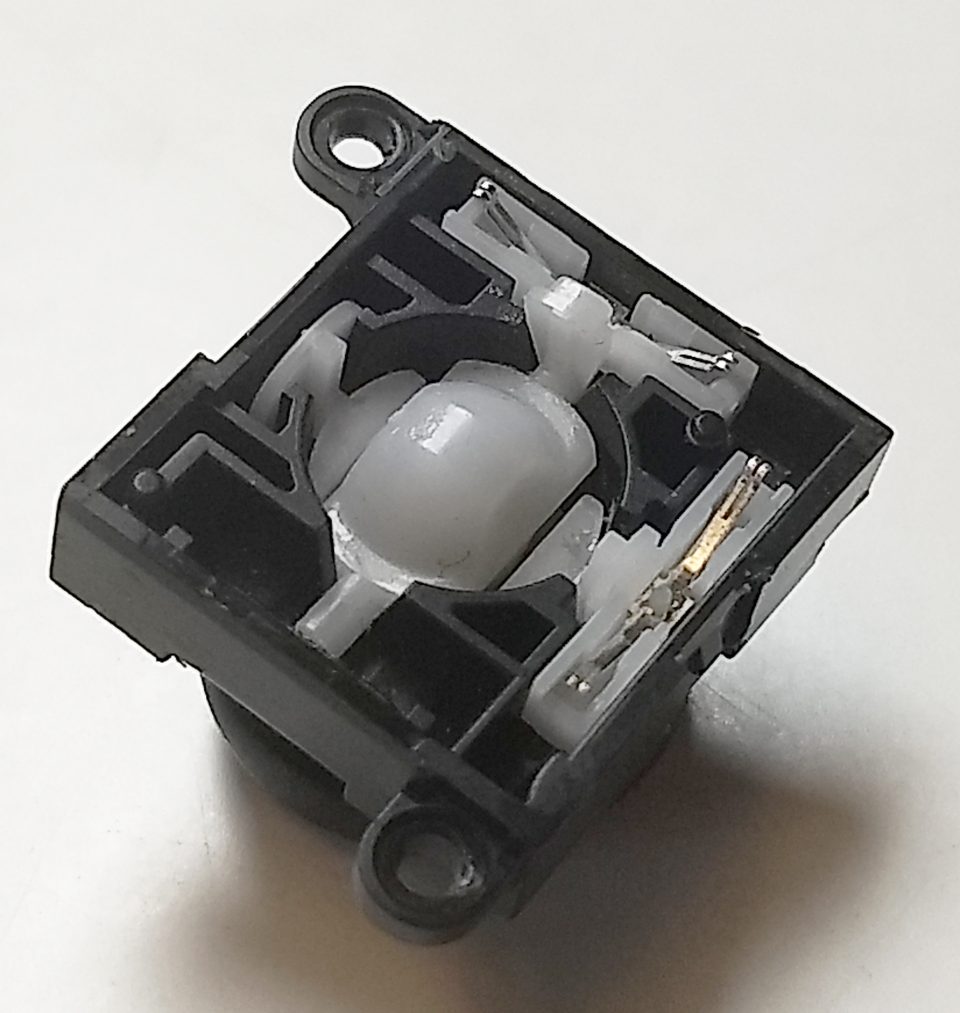
If you’re interested in a more detailed discussion, this Reddit thread has a fascinating debate about Joy-Con hardware. Reddit user Chainmaillekid, who started the thread, compares the Joy-Con control stick with a more “traditional thumbstick.” He suggests the Joy-Con’s physical design allows debris to collect at the bottom of a “tray,” easily affecting the potentiometers (a component that helps translate the stick’s physical movement into an electrical signal).
Ultimately, though, the cause(s) of drift have not been determined for certain—by Switch players, at least.
Nintendo Japan has been tight-lipped on the issue. Only recently did the company make an official apology. It has yet to tell consumers what to expect for a future Joy-Con fix, other than “we are constantly working to improve this product” (source link in Japanese, question 6).
In the meantime, Switch users who wish to fix their Joy-Cons have two options: send the malfunctioning device for repair to their local Nintendo branch, or attempt DIY repair. At the end of this article, I’ll briefly describe my own experience with taking the Joy-Con apart.
Possible Fixes for Drift
There are basically three types of solutions for Joy-Con drift, though none are sure to be permanent:
a) System fixes: Some users say that one of these solutions worked for them: calibrating the Joy-Con; getting a controller update; even detaching and reattaching the Joy-Con.
b) Cleaning fixes: Two commonly proposed cleaners are compressed air and electrical contact cleaner. For the latter, the WD-40 brand is often recommended. (If you can’t find it, look for another non-conductive, isopropyl-based cleaner.) You would do a quick spray (or a few sprays) underneath a rubber skirting below the control stick. Allow the cleaner to dry before you use the Joy-Con. Alternatively, Reddit user westfallian suggests using this precision lubricant instead, which they consider safer for the Joy-Con’s internal components over the long term.
c) Replacement fixes: That is, replacing the control stick. This requires a tri-wing screwdriver (perhaps two different sizes), a Phillips screwdriver, and a new control stick. All of these can be purchased as a kit on websites like Amazon.
Finally, this isn’t a fix per se, but it’s worthy of mention: One clever gamer with handy skills decided to replace his left Joy-Con entirely . . . with a homemade touchpad controller! (They say necessity is the mother of invention.)
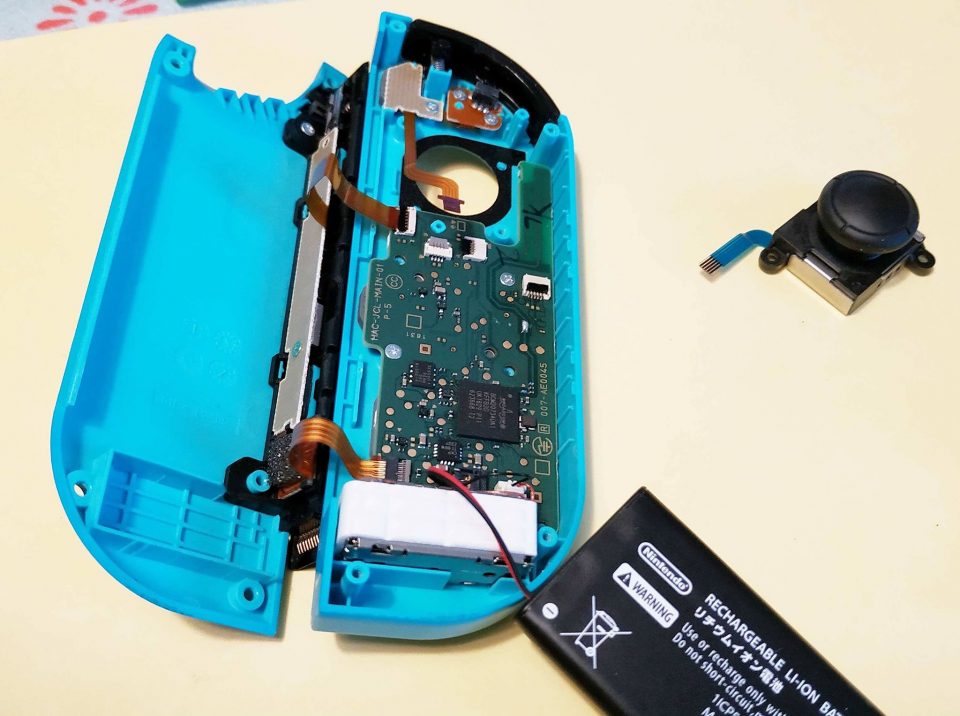
My Tussle with DIY Repair
I wrote at length on my blog about my first experience of opening up the Joy-Con. Here’s a summary of it:
I didn’t want to send my Joy-Con to Nintendo Japan as the repair costs 2,160 yen (about US$20). If drift is going to reoccur, I would rather get used to fixing it on my own.
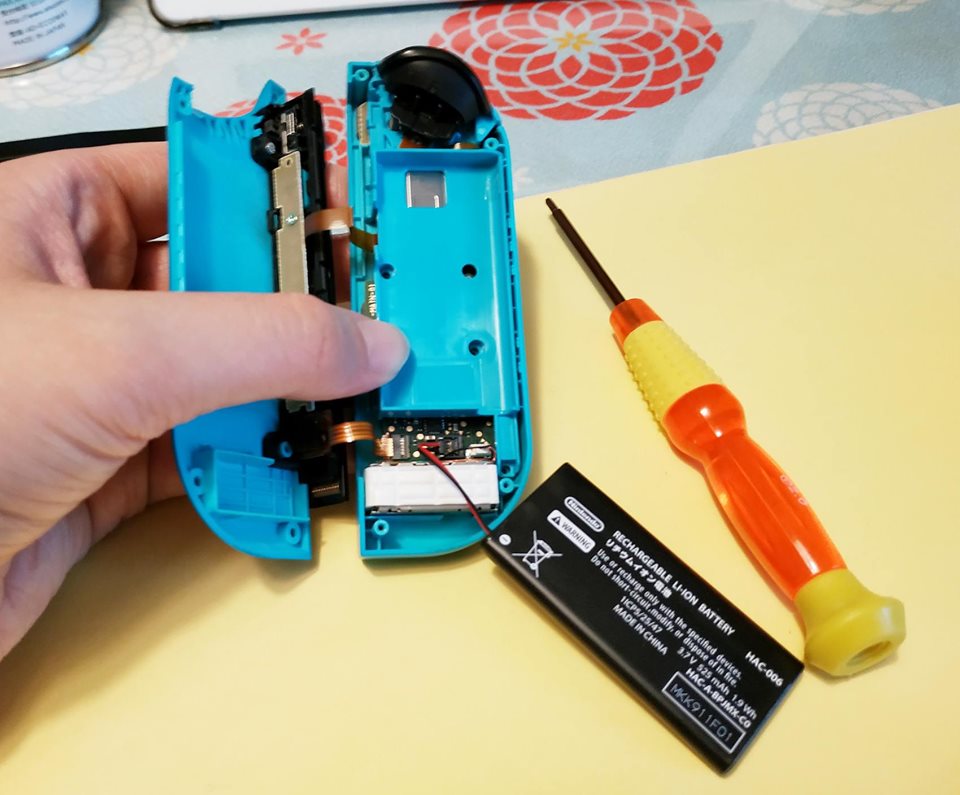
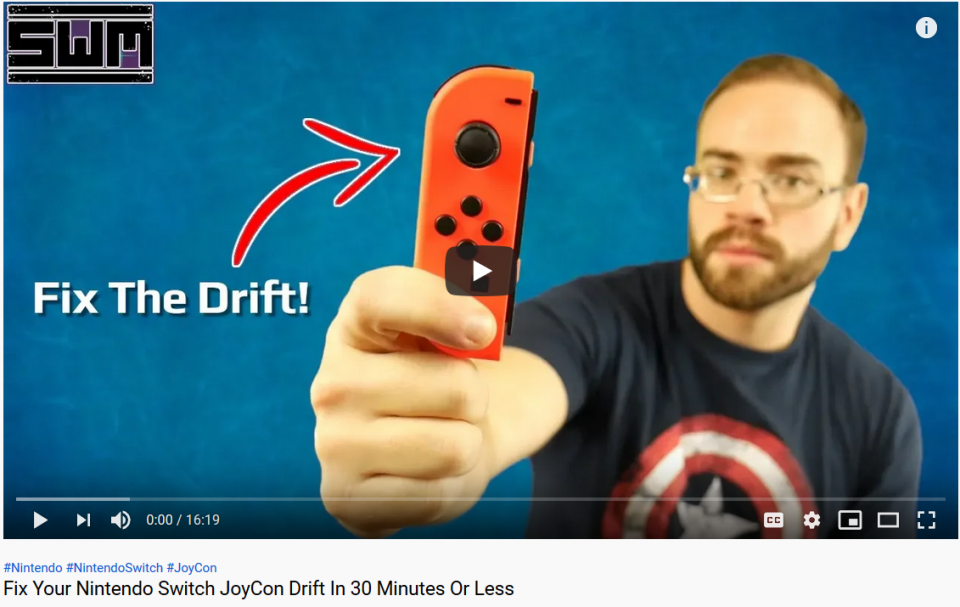
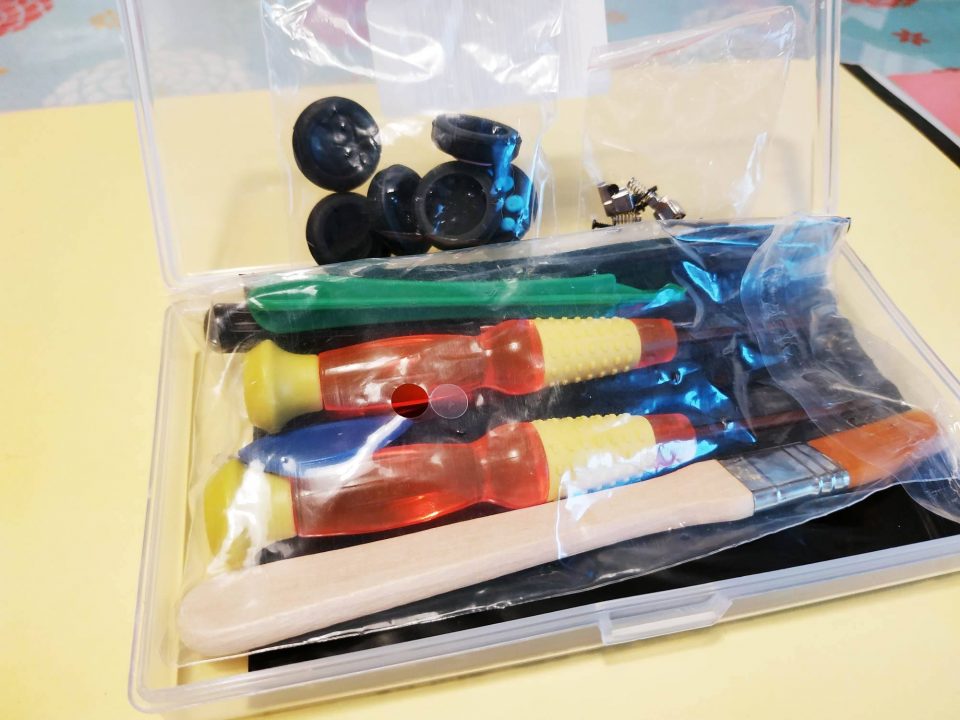
I bought a repair kit from Amazon Japan for 1,500 yen. It came with tools, two new control sticks, and extra screws and springs. I followed this step-by-step video by YouTuber Spawn Wave on how to replace the control stick.
Though the video says you can complete the repair within 30 minutes, I ended up spending almost 2 hours on it. The bulk of that time was spent struggling with screws.
I stripped three screws. That is, screwdrivers could no longer find traction on the screw head, having damaged it by widening the drive (hole on the screw head) too much. Thankfully, I managed to remove two of the screws, using a bigger screwdriver and pliers. The third screw remains stuck, and I won’t tamper with it until I need to fix the Joy-Con again.
In the end, I didn’t replace the control stick (though I plan to, in the future). I did, however, use compressed air to clean it. For a week after, the device worked just fine, but slight drift returned. Compressed air was a short-lived fix in my case.
Tips for Your DIY Repair
If you plan to repair a Joy-Con on your own, be extra careful about these:
1) Unscrew the outer casing carefully, to avoid stripping screws.
2) Tiny screws get lost easily, so stick them on duct tape.
3) Be aware that the R button and the spring beneath may bounce off.
4) Be gentle with the ribbon cables connecting to the motherboard.
When you’re done replacing the control stick and reconnecting the ribbon cables, you should test/calibrate it before screwing the outer casing back on. This will save you the trouble of unscrewing everything again if the Joy-Con isn’t working right.
If something’s wrong—like in my case, on first calibration the Joy-Con showed worse drift than before—don’t panic. It’s possible that you didn’t reconnect the ribbon cables properly. When I tried putting the cables back again (one looked a little crooked), the second calibration was a success. If you’re using tweezers, don’t squeeze those cables too hard so you don’t scratch them.
Lastly, proceed at your own risk and best of luck!
If free repair is available from Nintendo in your country and you want to avoid unnecessarily damaging your Joy-Con, then a few weeks without your Joy-Con might be worth the wait.
Do you have a drift story too? Tell us in the comments section below!
I’ve fixed a number of joy-cons by replacing the sticks. My main issue from the repair was the fragility of the ribbon cables which I also later replaced. The new ribbon cables had extra length which stretch that little further which is helpful. Once you’ve carried out the procedure once, it shouldn’t take as long the next time.
Hey Jonah! I see. That’s great you got longer cables. Thanks for the comment!
I fixed my very first joycon ( that came with the first release switch ) last month. The left has been drifting few months after I got the Switch, And didn’t bother cos I use the pro controller(also I hardly touch the Switch ). And when I found out they will do it for free, their repair site closed due to pandemic. So got bored recently, decided to get the kit and fix it myself. It’s not that hard, thou somewhere in the middle, a little scared when I have to unscrew a screen under a ribbon to take that thumb-stick out. All went well, faulty JC works again.
Hi Sab, thanks for sharing your fix experience. Glad to hear it all went well 🙂 What a pity the repair site is down for now.
Hi Elena, I think they already open back up some of their repair centers. But it will probably still be a long waiting line because of the back log and maybe not enough manpower (?). Glad it’s easy to find those parts and they are inexpensive.
Like what Jonathan said, we did it once, the next would be easy.
I am blind as a bat, lol! Have to use both my knee to hold the magnifying glass while trying to get the ribbon out of the connector ( the stand alone one is a tad too tall, so I have to use the hand held one ) that is the only hard part for me other than that everything is easy, lol!
Yes, Sab, it’s fortunate that we can get replacement parts affordably!
I was able to repair half a dozen joycon sticks without the need of replacing anything. Of course, I feel the drift will come back sooner or later. All I did was take apart the analog stick and cleaned the black pads on the circuit board, the fingers on the metal fork thingies, and carefully put it back together. You need a decent small screwdriver set though. This saved me a lot of money and time.
I see! Thanks for sharing, Jon. Great that you managed to remedy the drift (even if temporarily) by just cleaning out the parts. I’d be curious to know how quickly drift returns for different people.