


This walkthrough of Viewfinder covers Chapter 3 of the game, including all puzzles and optional puzzles. There will be more parts covering the rest of the levels in the future, but these do not cover all the achievements for those levels. For the previous walkthrough, which includes Chapters 1 and 2 for Viewfinder, click here.
Viewfinder All Puzzles Walkthrough Video
I created a YouTube video with chapters for each level; if you prefer watching the game instead of reading, check it out here:
Viewfinder Walkthrough: Chapter 3, Level 1
Chapter 3, Level 1.1
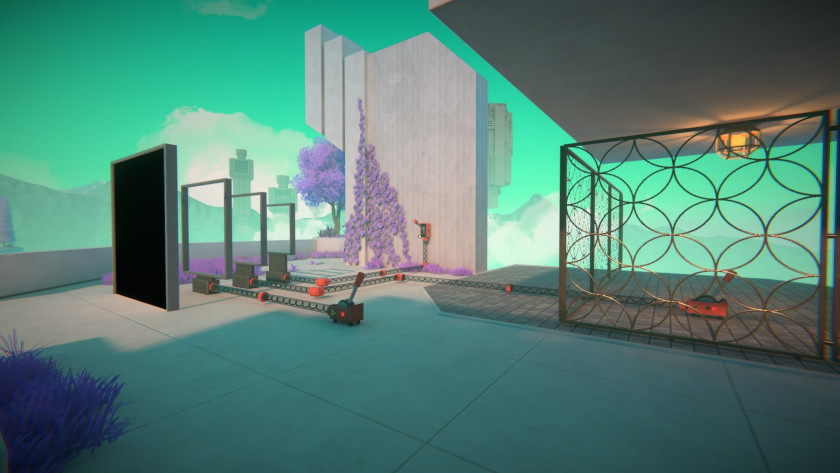
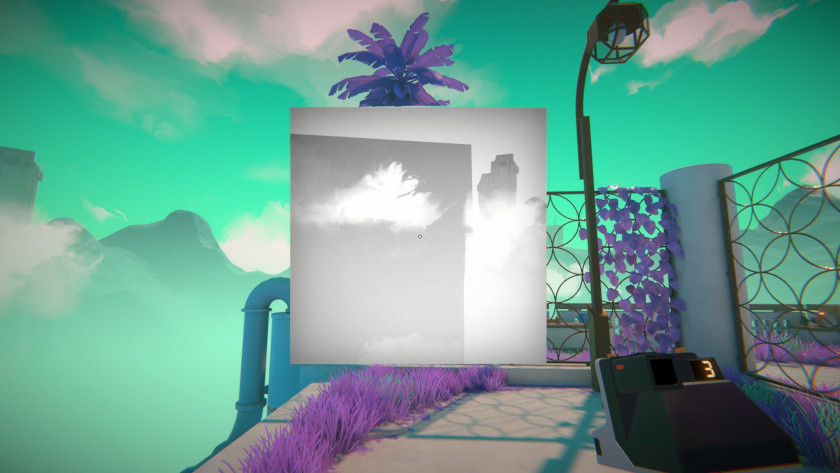
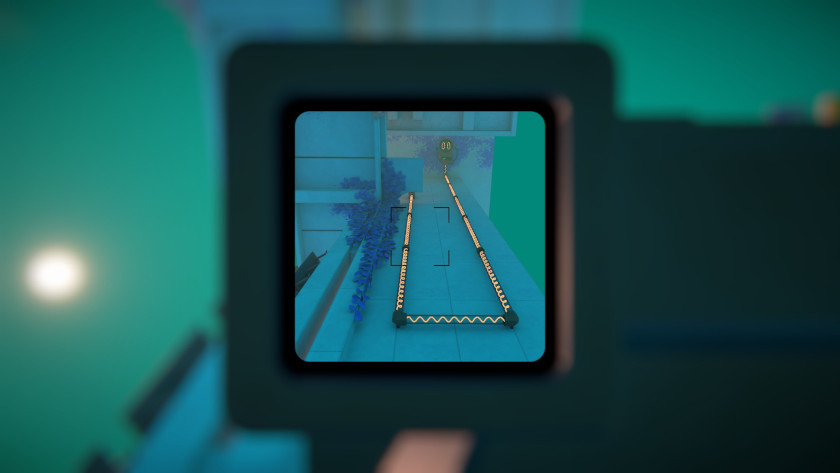
Turn on the switch on the floor and the one on the wall. Next, walk past the wall on the far side of this section; a perspective puzzle on the other side will open the cage to the third switch.
This will turn on the last screen, allowing players to complete the walkway to the next section of this level.
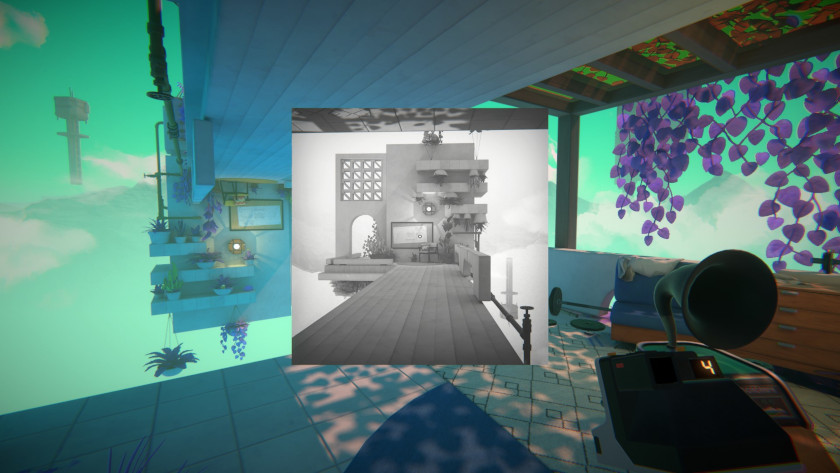
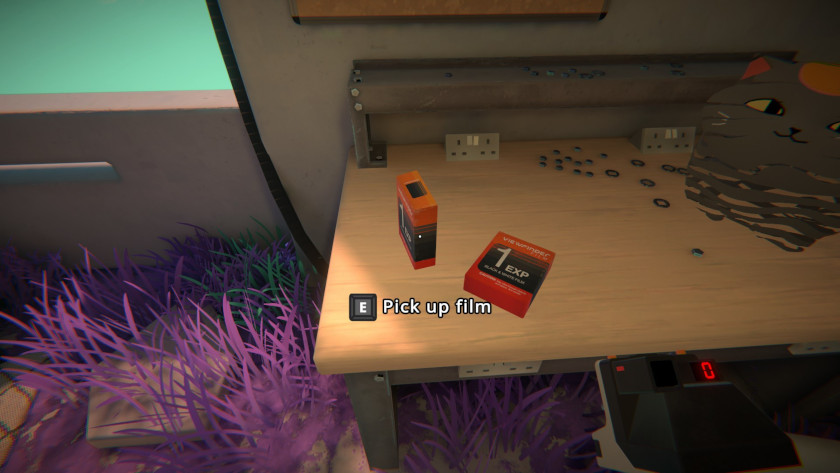
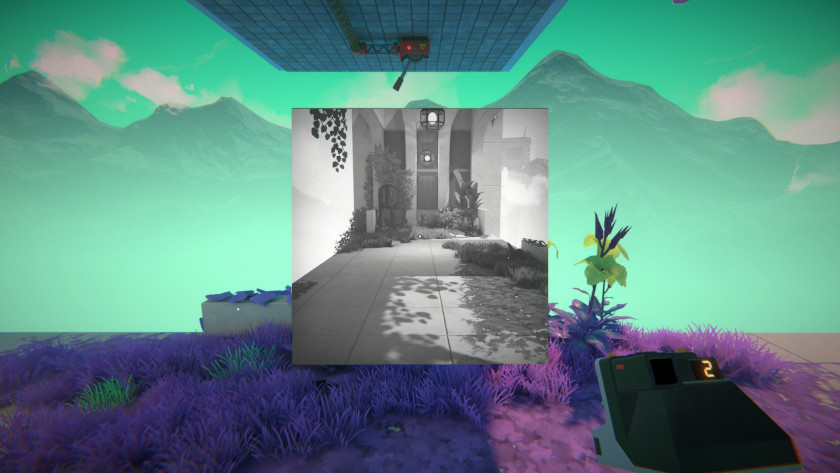
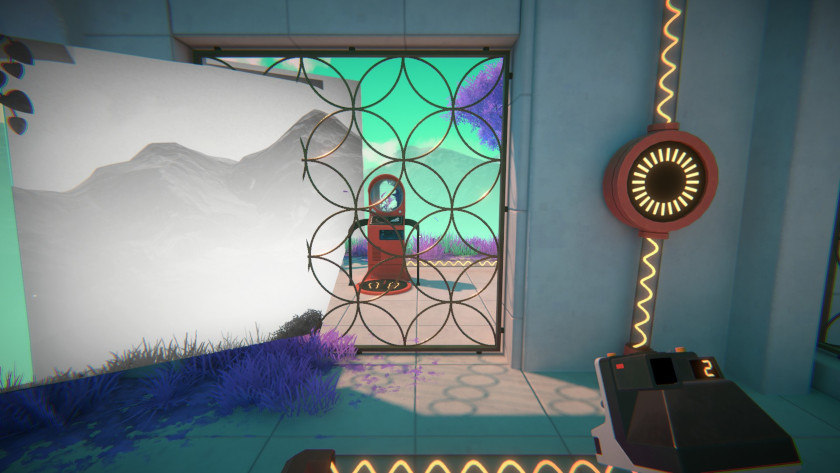
On the other side is a teleporter that needs to be charged. Pick up the photo on the small table to the right of the teleporter.
Pick up the photo, place it, and walk in. On the table inside will be a poster of a camera. Pick that picture up, then place it. You can then pick up the camera from it.

Take the camera, then bring it back to the teleporter. Take a photo of the battery on the teleporter’s charging plate to duplicate it once; then it will be charged.
Viewfinder Walkthrough: Chapter 3, Level 2
Chapter 3, Level 2.1
Snap a photo of the unreachable platform, then turn the photo upside down and place it.
Walk across and through the archway; a sideways teleporter is on the other side. Take a photo of that and rotate it as well.
Chapter 3, Level 2.2
This chapter is very simple; just take a photo of any platform and place it so you can walk over to the teleporter.
Chapter 3, Level 2.3
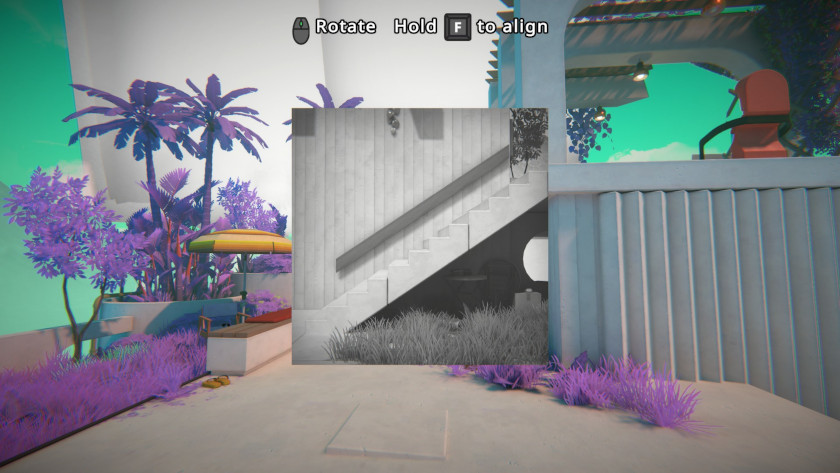
Next up, take a photo of the stairs here, then use those to climb onto the platform and use the teleporter.
Chapter 3, Level 2.4
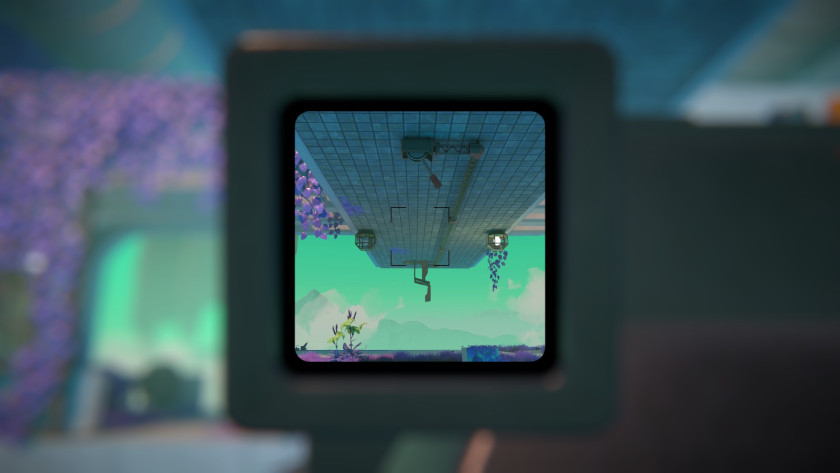
To get through to the next level, just take a photo of the ceiling; there is a teleporter there.
After that, point the photo at the floor directly under your feet, and you will fall to it. Use the teleporter to get to the next level.
Chapter 3, Level 2.5
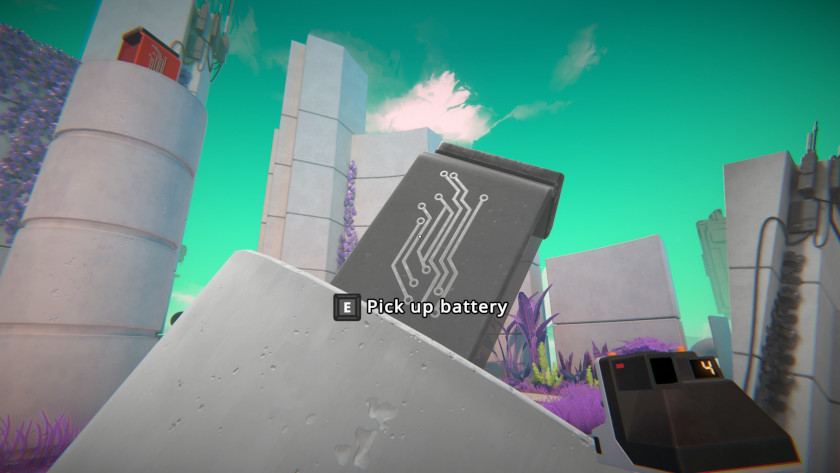
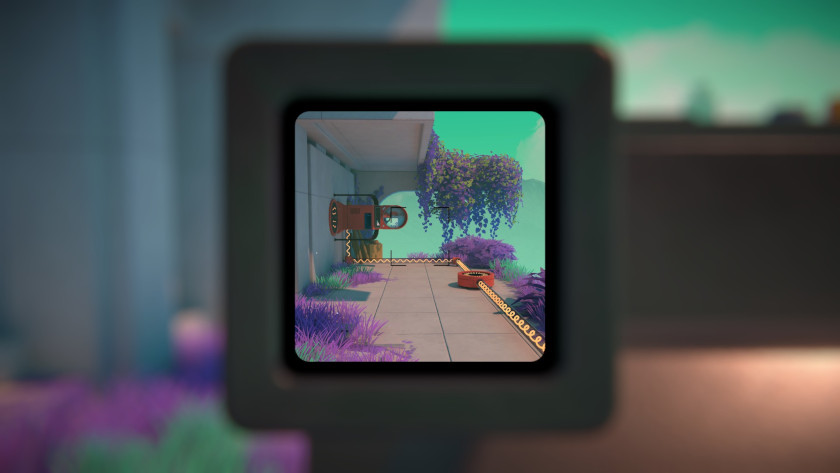
There is a pillar with a battery on it; you must take it. However, the battery is too high to reach. So instead, take a photo of it and place it so the battery is reachable.
Next, carry the battery over to the fenced-in area where the teleporter is. Use a photo of the sky to open up the fence, then carry the battery inside.
Take a photo of the battery to make another copy of it, then place the second battery on the terminal as well. This will power up the teleporter so you can use it.
Viewfinder Walkthrough: Chapter 3, Level 3
Chapter 3, Level 3.1
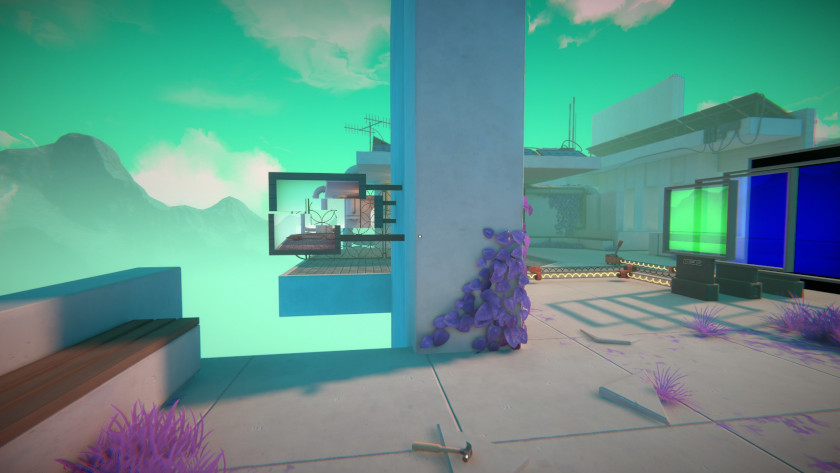
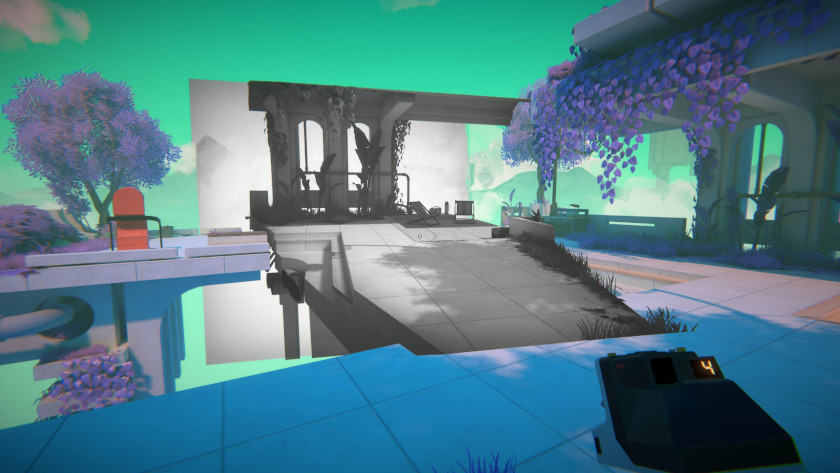
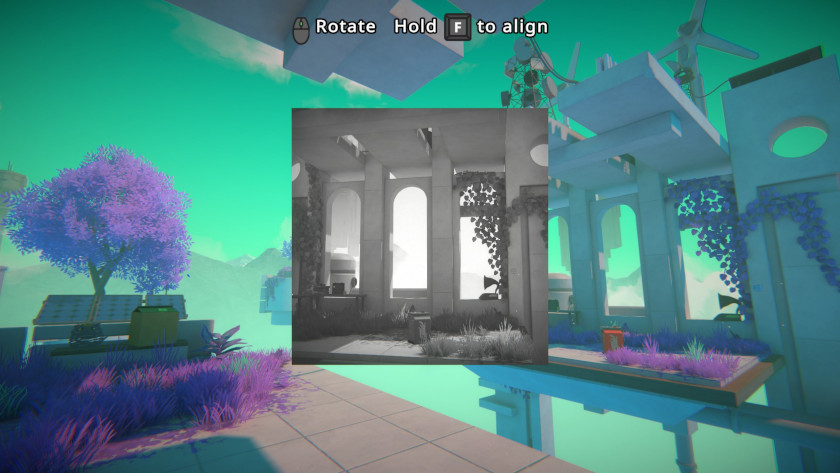
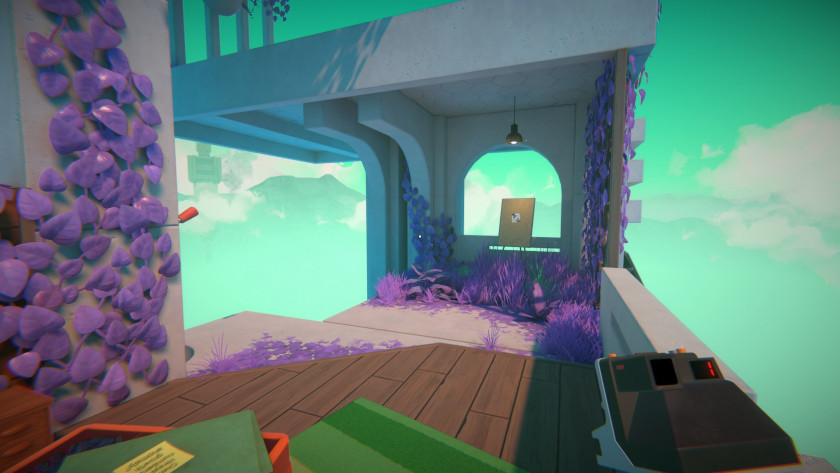
Take a photo of the sky to place over the fence so you can walk through to the other side. After walking through a hall, players will find the teleporter, but they will need to rotate it and will be out of the film. Walk to the right of this location to find the office.
Inside the office, on the table, there are two more photos.
Take one, then use it to take a photo of the teleporter and rotate it.
Chapter 3, Level 3.2
Take a photo of the surface with the battery on it, then use that surface to make a bridge between the platform you are standing on and the platform with the battery. Now you can pick up both batteries to use on the teleporter.
Chapter 3, Level 3.3
Pick up the battery and bring it with you over to the teleporter. Set it down in front of the teleporter, then take a photo of both. Rotate the photo and place it so you can put both the photo’s battery and the original battery on the teleporter platform.
Viewfinder Walkthrough: Chapter 3, Level 4
Chapter 3, Level 4.1
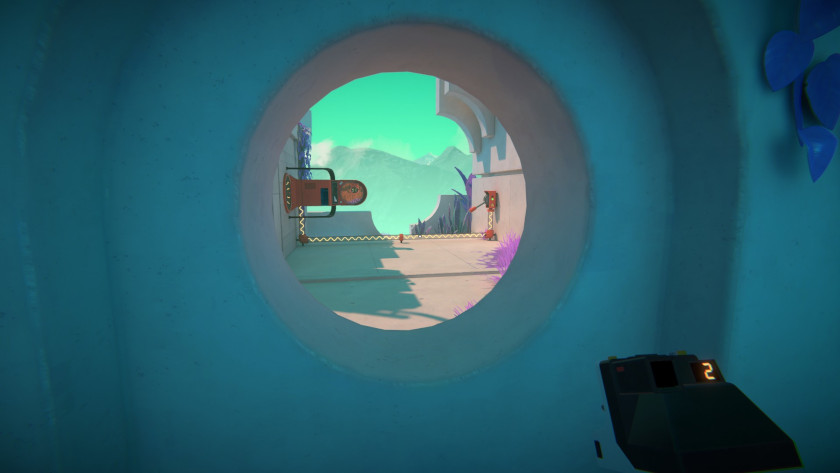
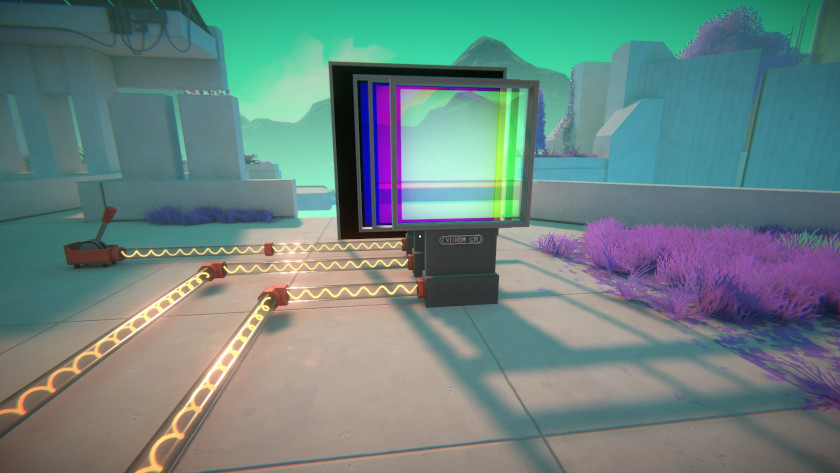
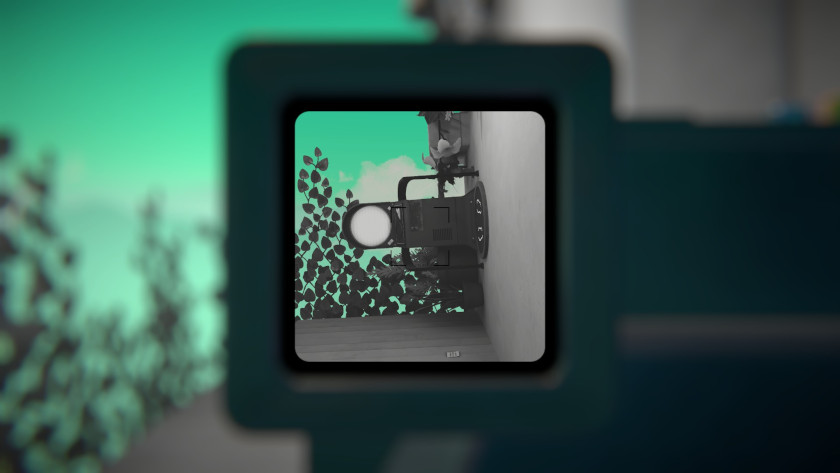
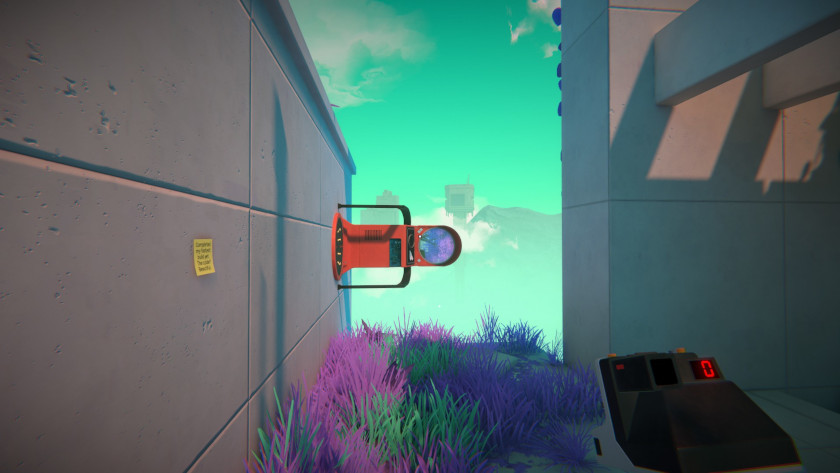
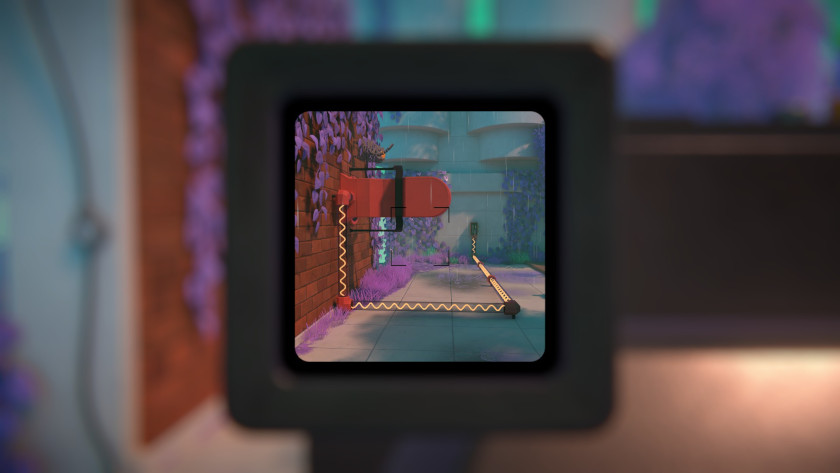
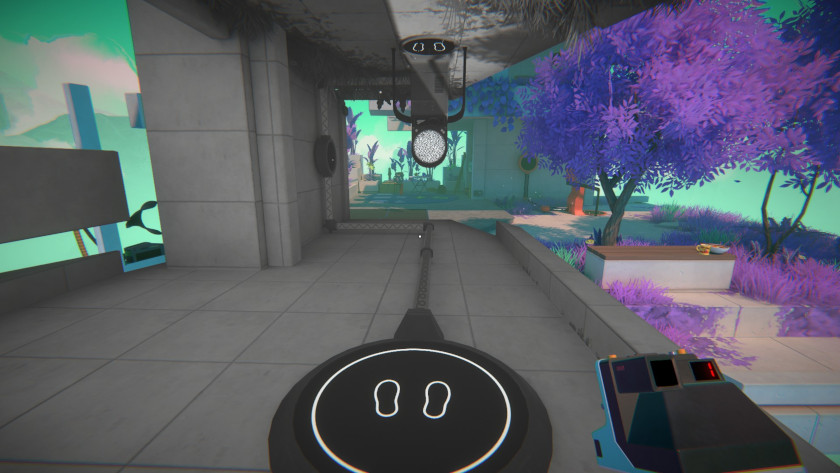
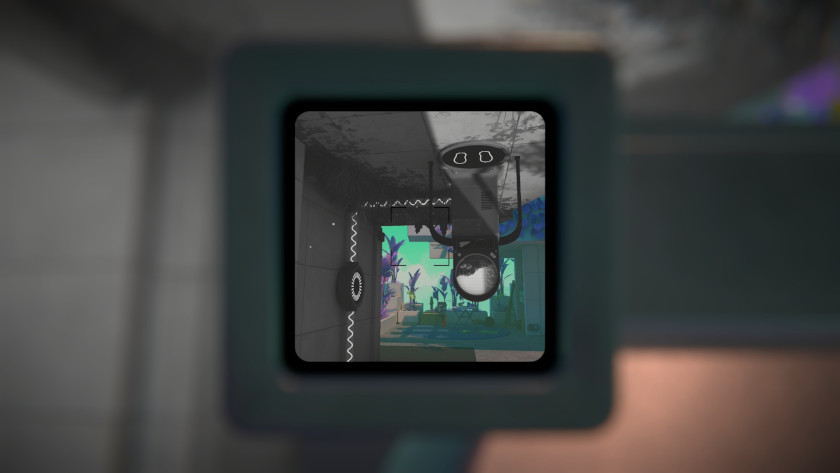
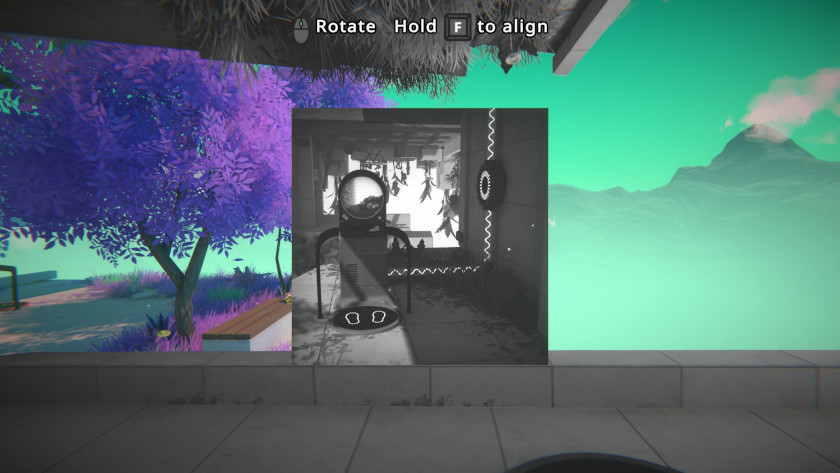
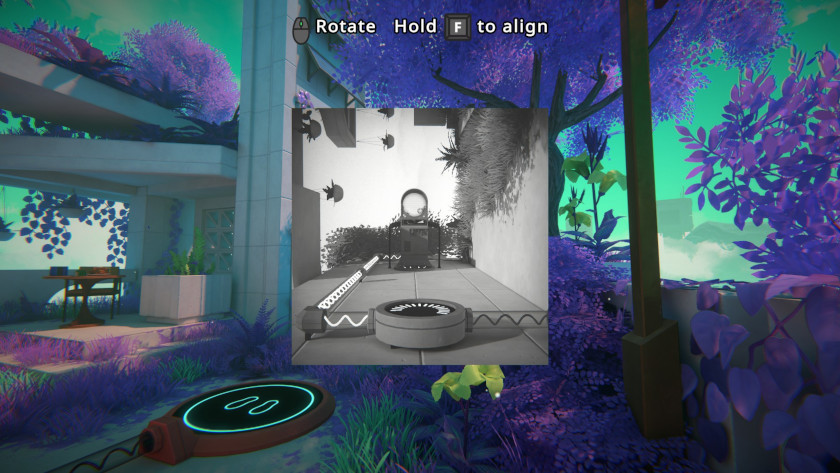
Turn the teleporter on, then photograph it through the round window. Make sure the teleporter and the switch is in the photo. Rotate it, then place it, then walk into it.
Chapter 3, Level 4.2
For the next level, turn on the teleporter, then take a photo of it. Rotate, then place the photo. Then use the teleporter.
Chapter 3, Level 4.3
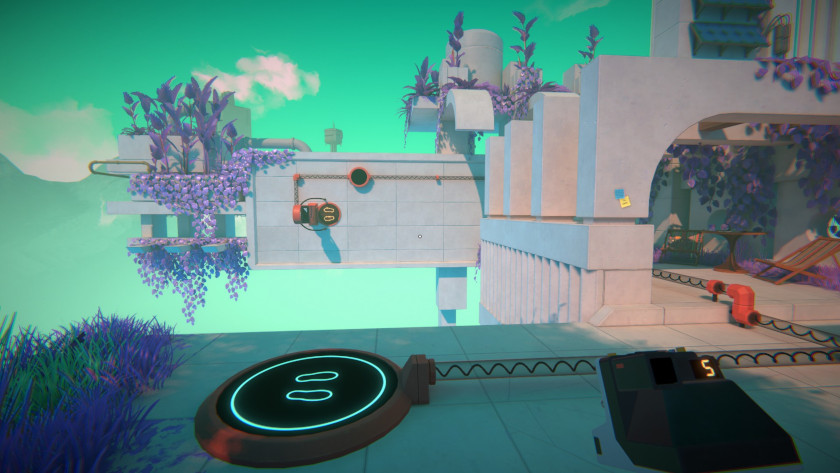
Take a photo of the platform, then use it on one side of the platform underneath the teleporter’s switch.
Walk out on the platform until you can see the whole of the teleporter and the switch in your viewfinder.
Chapter 3, Level 4.4
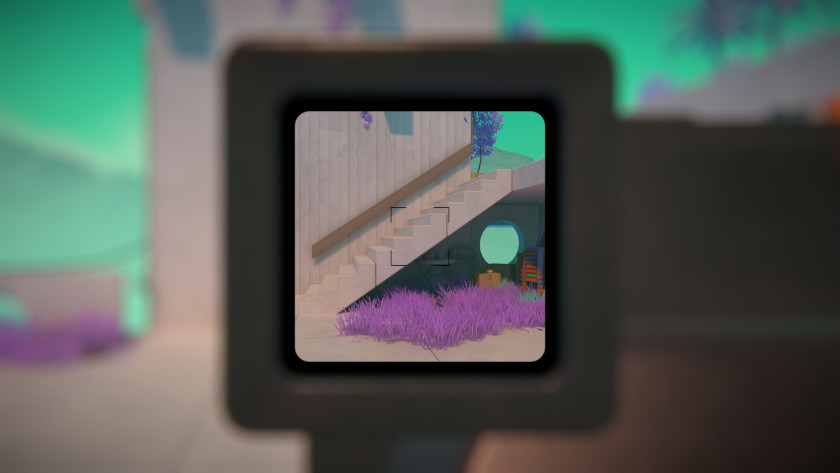
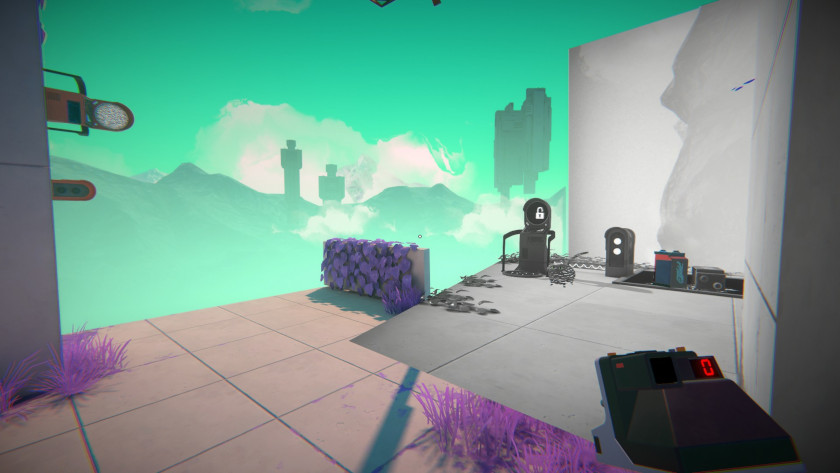
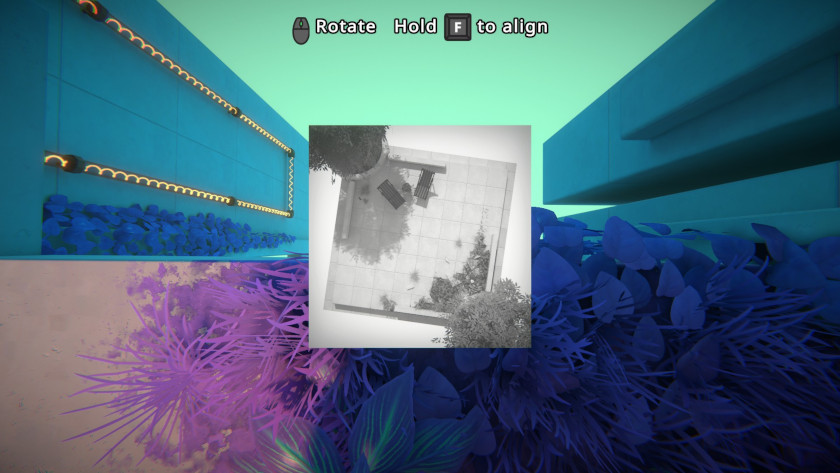
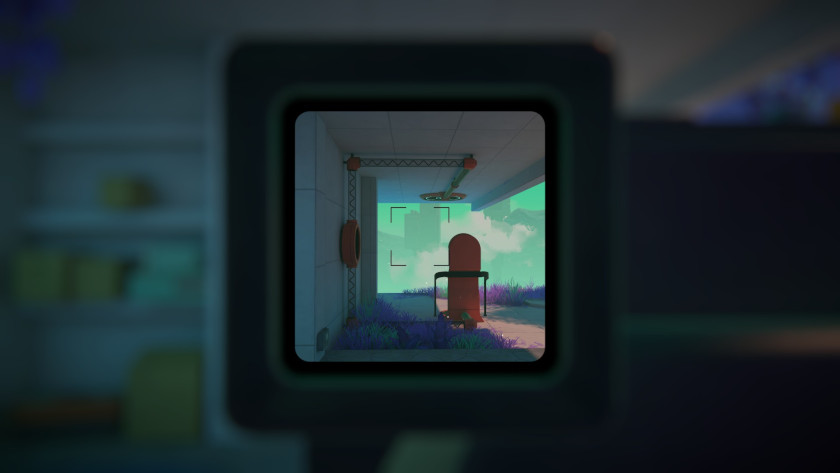
Walk off the edge immediately in front of you and turn around; there will be a ledge underneath you with a set of living room furniture. Turn around, and a photo will be on a canvas behind you.
Interact with the lever on the left side of the screencap above to make sure the teleporter is on. Next, walk over to the edge between the level and the canvas, and point the photo down at your feet.
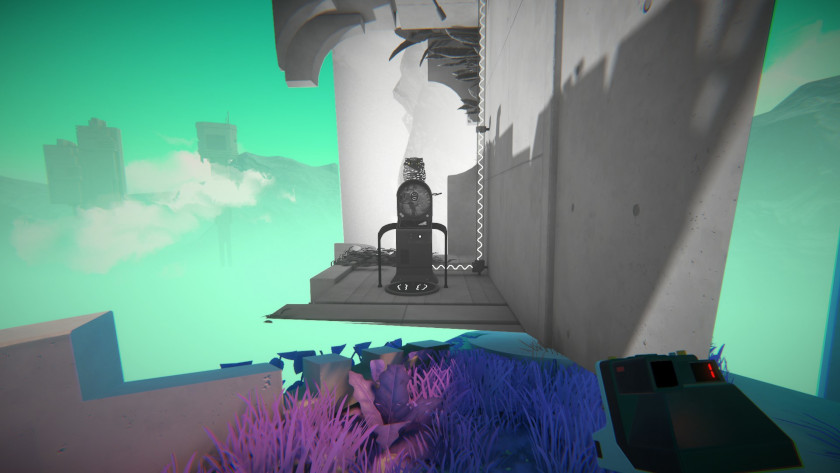
Fall onto this platform, then look up a take a photo of the teleport and all its wires. Make sure to get the whole thing in the photo.
Point the photo directly at your feet and fall onto the now right-side-up teleporter.
Viewfinder Walkthrough: Chapter 3, Level 5
Chapter 3, Level 5.1
Take a photo of the sky and place it to clear a quick path to the teleporter. You only have a few seconds to get over to it before the timer on the standing pad runs out.
Chapter 3, Level 5.2
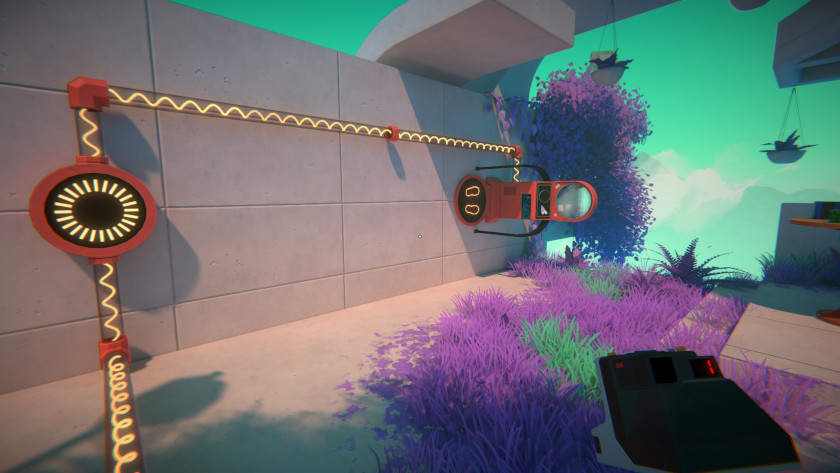
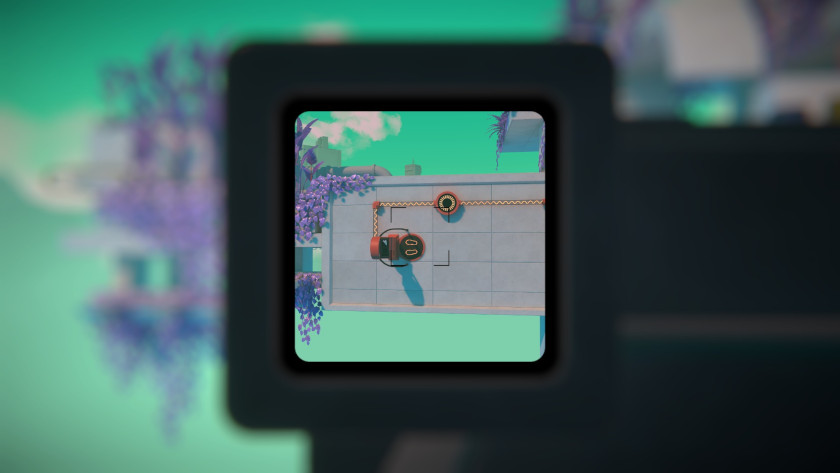
In this level, you must turn on the switch first. Next, take a photo of the teleporter, but make sure to include the round time mechanism.
Rotate the photo so the teleporter is right-side-up, place it, then run to the teleporter quickly before the time runs out.
Chapter 3, Level 5.3
This one is a little tricky, so pay close attention to the photos below.
Chapter 3, Level 5.3
Stand on the charging pad until the teleporter is working.
Next, move to take a photo of the time and the teleporter. Place the photo so the teleporter is right-side-up.
Chapter 3, Level 5.4.
Walk over to the far side of the level away from the teleporter.
Charge the teleporter, then take a photo of it and the timer.
Point the photo directly under your feet and fall to the teleporter. Interact with it before the timer is up.
Viewfinder Walkthrough: Chapter 3, Level 5
Chapter 3, Level 5.1
The optional challenges for Viewfinder in Chapter 3 are pretty difficult to explain, so here is a video of how to get through it.