


Some games just click: Woven is such a game. We had the pleasure of reviewing it and had a blast doing so. (you can find the review here)
Time to make a guide for the puzzles, Yvonne already wrote up the first chapters, now it’s my turn to list all the puzzles. You can find all the chapter guides here. Are you ready for Chapter 5, the last one?
We didn’t set out to make a fully fledged Walkthrough, but rather focus on the puzzles and where to find the Blueprint machines. If possible, we will direct you in the right direction to find what you need!
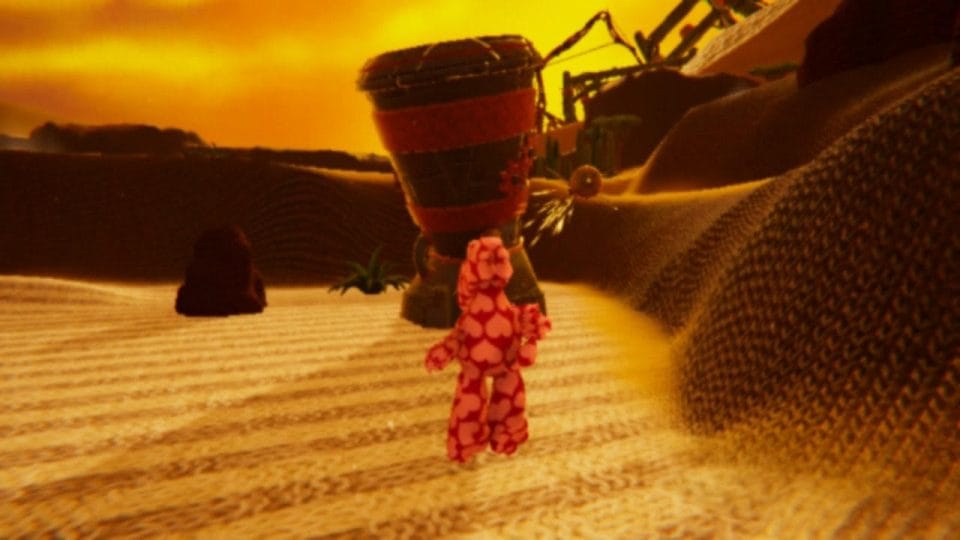
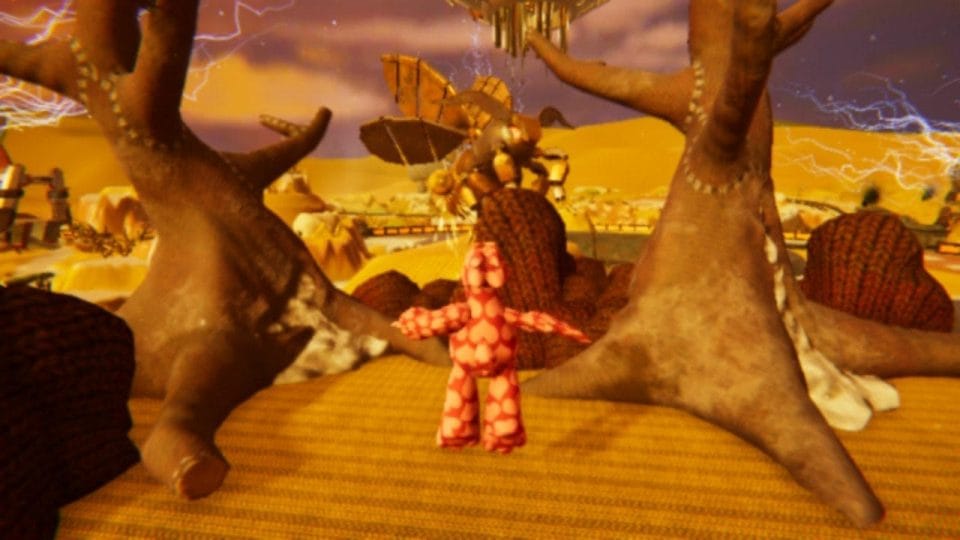
The hot scorching desert
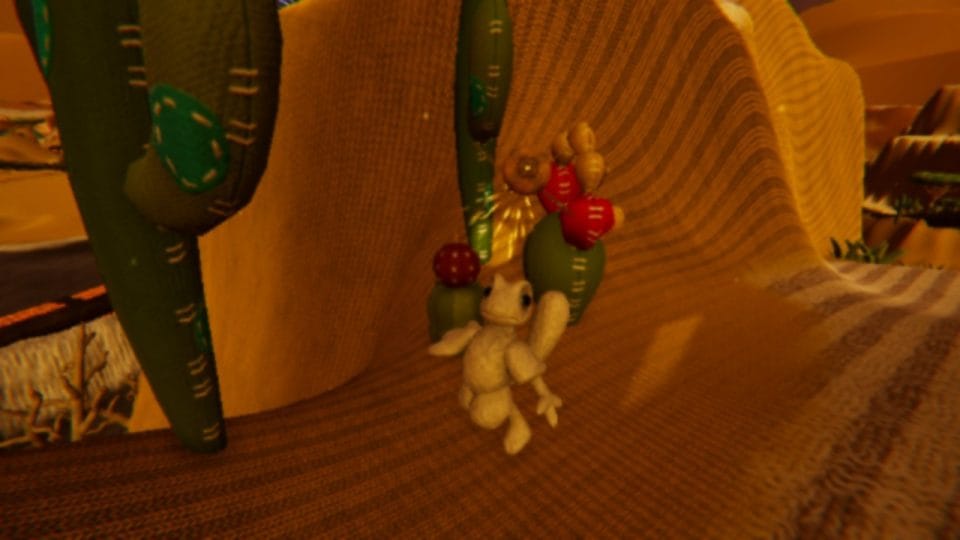
After the long sequence about Glitch’s origins and the source of all trouble, you find yourself in the desert. Lots and lots of sand, of course. And it’s an easy chapter to get totally lost in, after all, all sand looks the same.
Scannable patterns are on the rocks and such, but you’ll find a lot of them in cactus plants after stomping. (It’s the Cactus with the one red bulb on it)
In this chapter there are to discover:
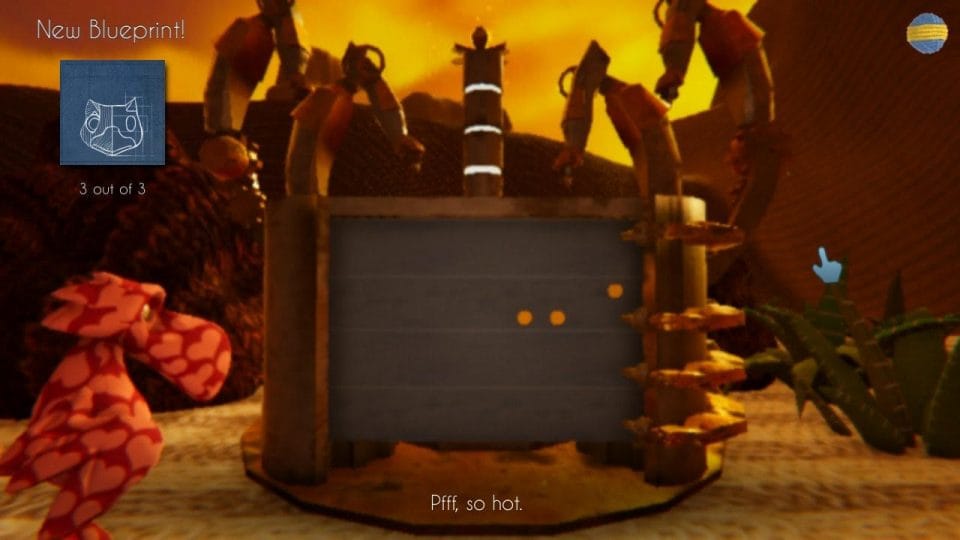
- 3 Blueprint machines
- 3 caves
- 29 patterns
- 5 Glitch’s memories
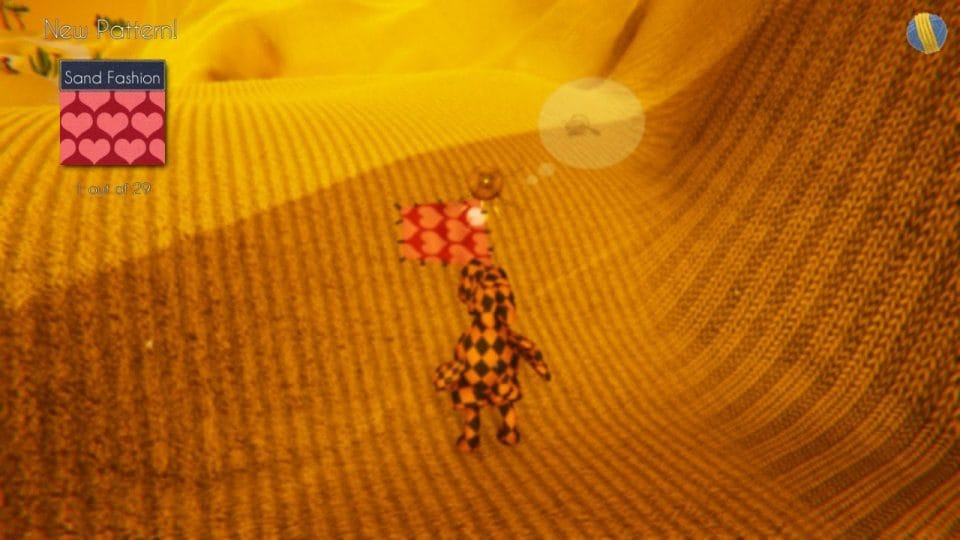
First, after entering this chapter, go left and find a pattern, Sand fashion. Another important pattern, you will need it later on. Go back and way up the path to and use the sewing machine to change Stuffy’s legs to stomp legs and and a normal head and the sand fashion skin.
Go right on leaving the sewing machine and go back down the path to find a cactus plant on the right of the path near the edge, where you entered the level. Scan the plant for pattern Ochre. Back up the path and find a meerkat in a hole and chase him up the path. Follow the meerkat as he pops out of the each hole all the way up to the top of the path. The meerkat will throw out an acorn on to a path behind him. Turn around and go down the hill turn right just below the bridge on to a path and go along the path and scan the acorn the meerkat threw behind him to get pattern Ecru.
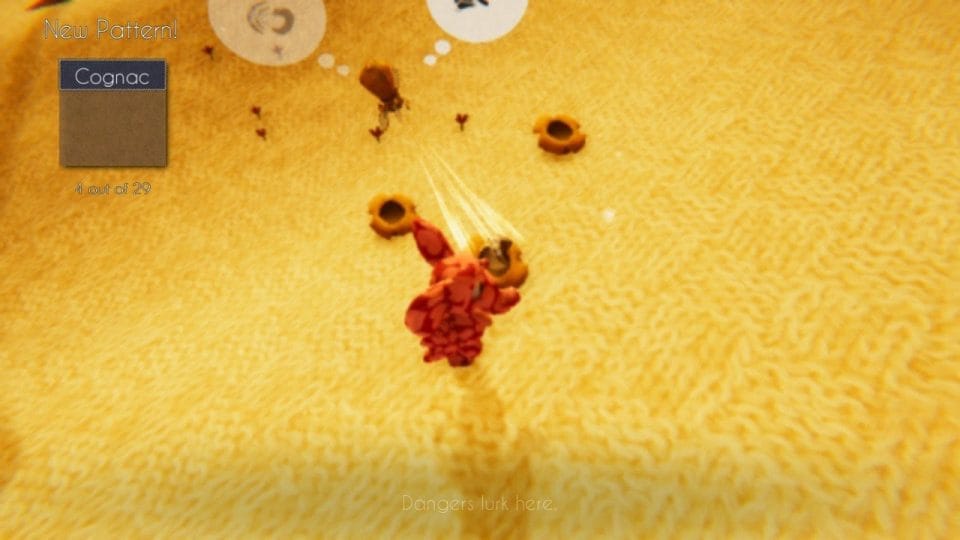
Go down the hill and you will see some holes and more meerkats. Shout using Stuffy’s voice near the holes and the meerkats will pop out scan one of them to receive the pattern Cognac.
After that, go back down the path and go left up the sandy hills. Walk along them on the other side between the track and hills until you come to some Red Pads on the ground. These need to be stomped on, to raise all three of the platforms until they are level, (sounds familiar!).
Start with the middle red pad and stamp twice on it until it raises up fully move to Stuffy’s left and stomp on that pad once, move to pad on the right of the middle pad and stomp once on it and all the platforms should be level. After stomping the pads go left and over to a sewing machine, change stomping legs to jumping legs.
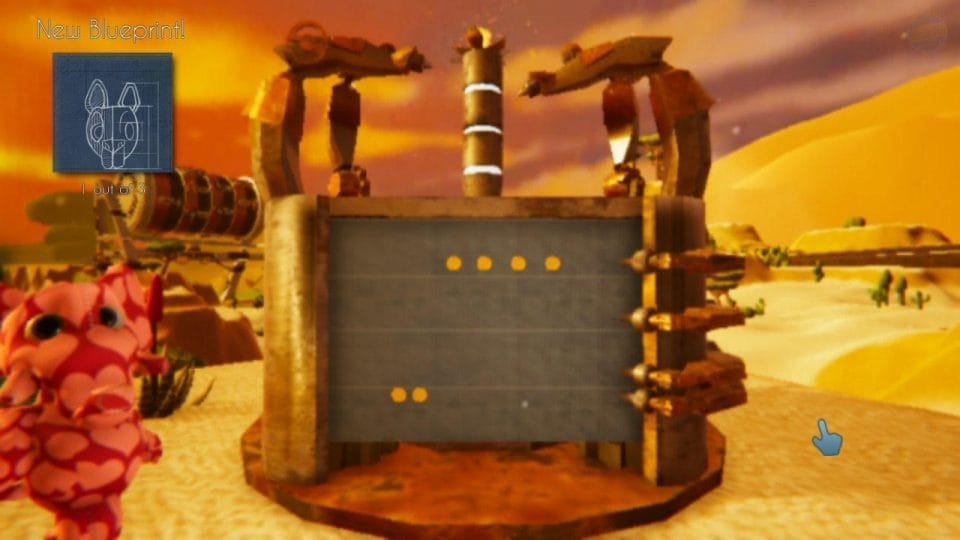
Back along the path past the red pads and cross over the now level platforms turn left keep going and use the jump pad to get to a Blueprint machine for a Kangaroo blueprint.
Heading for the Scorpion
Head back down to where you found all the meerkats go straight across to a ledge until you find a jumping pad and use it to jump up. Go way way down the path and on the left sort of in a corner of the wall and it’s kinda hard to spot as it matches the background is a pattern Tangerine.
Return back up the path staying to the left side and keep going straight past a large boulder on the left and find a bunch of hopping rabbits, scan a rabbit to get pattern pumpkin. Across from the rabbits on the wall is another pattern Fuchsia, hard to miss this one as it stands out well.
Take a right after the pattern and find a very very narrow path just behind some cactus plants, go along the narrow path and keep going until you come to a sewing machine and a pattern Stuffing, on the ground. Change Stuffy’s legs to stomping legs make your way back along the narrow path until you come to the rabbits again.
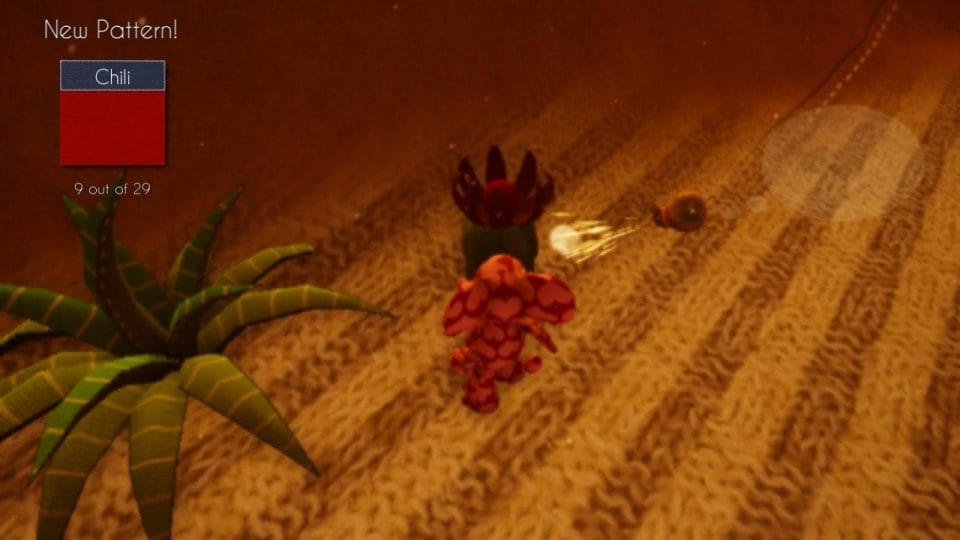
Past the rabbits and large boulder. Turn right and go down the hill, follow the left side of the path and then take the left turn. Up at the top on the right side at the end of the path is a cactus which can be scanned for pattern Chilli….if you can’t find the right cactus go close to them all and the one that Glitch shows his scanning icon on will be the right cactus plant.
Backtrack to the sewing machine you had just used which is past the boulder and the rabbits, go along the narrow path again and instead of going near the sewing machine carry on down the path and at the bottom turn right and you will see the entrance to a cave.
Back out of the cave and along the path and on the left is a cactus to be scanned for pattern Marine.
Keep going along the path with the Orange tunnel on your right…along the path and up the ramp until you see a red pad on the ground stomp on the pad and a scorpion comes along on the track and stops.
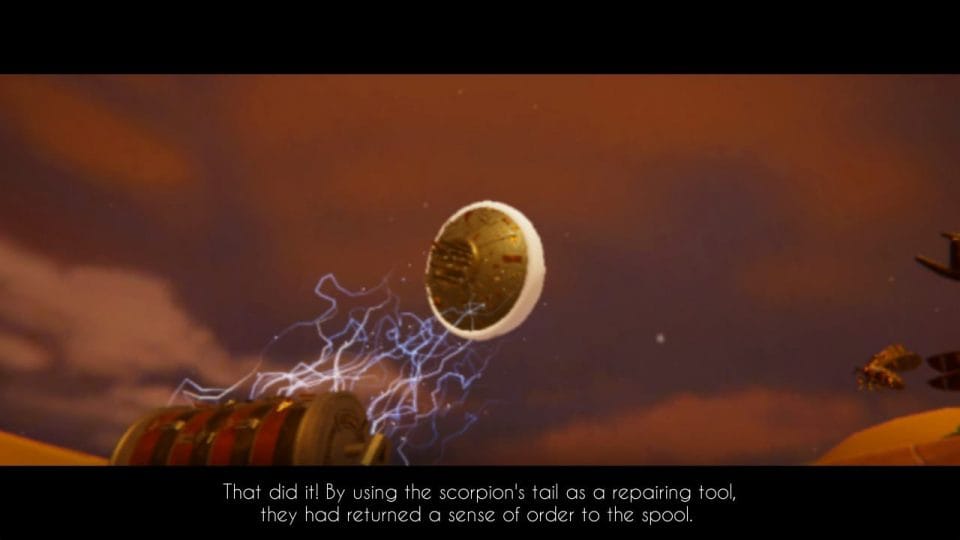
Walk left over the drawbridge, and plug glitch in to the scorpion….it’s puzzle time.
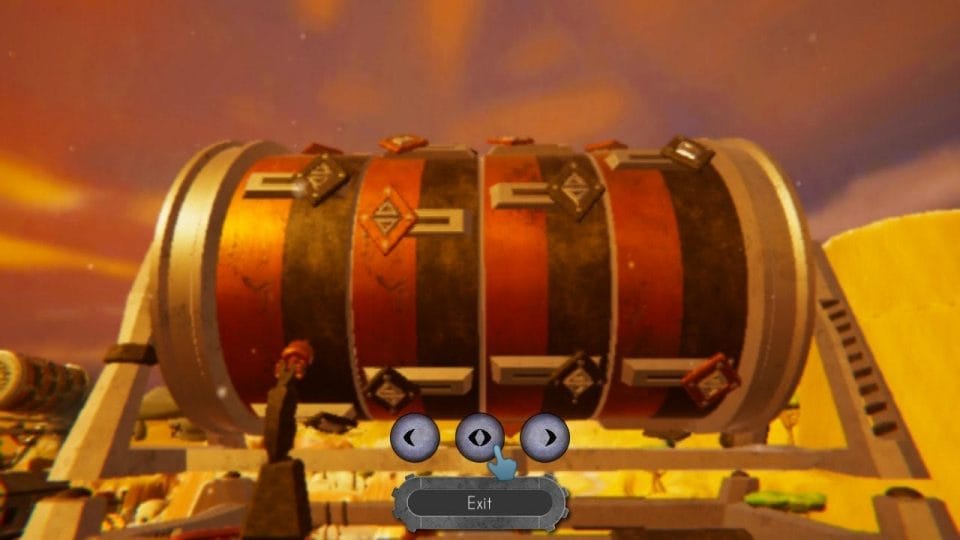
You have to match the red and black diamond to the same colour on the wheel as it turns by using the buttons and moving each diamond to its respective colour. The outside buttons moves the pointer and the button in the middle makes the pointer click on the diamonds.
This puzzle may take a while to get right once you do a cut scene plays.
Find the Armadillo
Watch the cut scene, walk over to the scorpions head and stamp on the red pad and the scorpion will move along the track to the next stop.
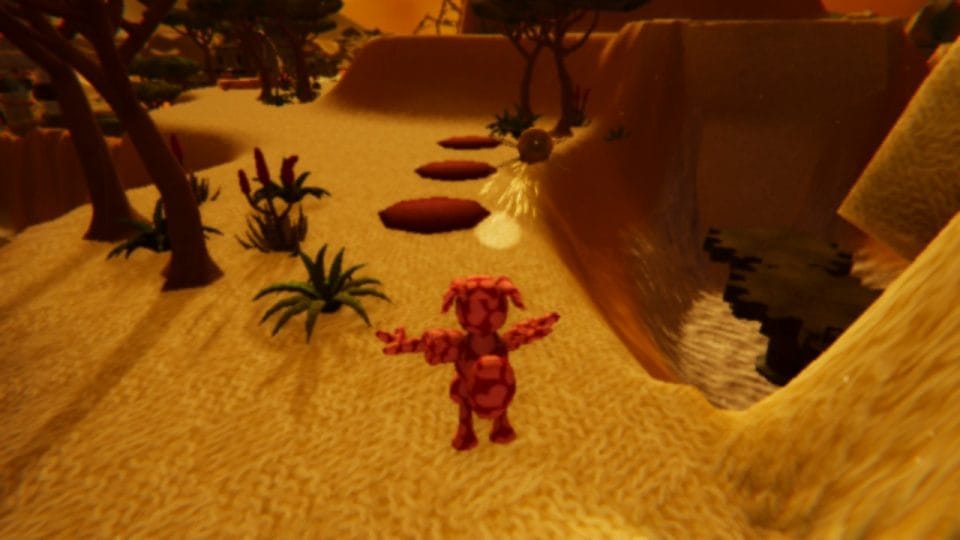
Once it stops and releases its ramp, walk Stuffy off. Go down the ramp and turn right into this new area. A small mound in front of you has a cactus plant to be scanned upon it for pattern Chocolate, the cactus is hidden behind a bigger plant. Turn around and go left down the path on the right past the aloe Vera plant is another pattern Carrot on the wall again this one is hard to spot.
Continue on to the grassy area keeping left and you will find a sewing machine, change one of Stuffy’s arms to a push arms and legs that will jump and the other arm change it to a bear claw. Retrace you steps back along the grass area keeping left until you come to a block Stuffy can move, watch cut scene as the armadillo rolls past.
Go back to the sewing machine and go past keeping left and on past the dark coloured boulders and up the stripy hill to where you can use those jumping legs you have just equipped stuffy with. Once your up go left to a pattern Teal on the edge of the cliff.
Go back down to the hill and left and over to the sewing machine and change to stomping legs. After that turn left and follow the grassy path the whole way down until you find another block to push, once you have pushed the block over turn around and in the trees is another pattern Grape in a cactus.
Go back the way you came over to the push block past it and on up the grassy path to find a Glitch’s memory machine.
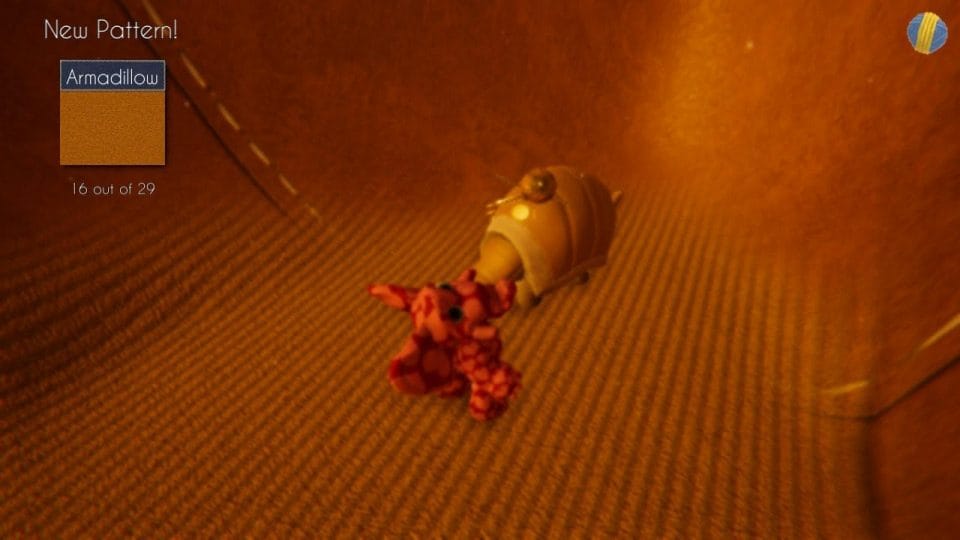
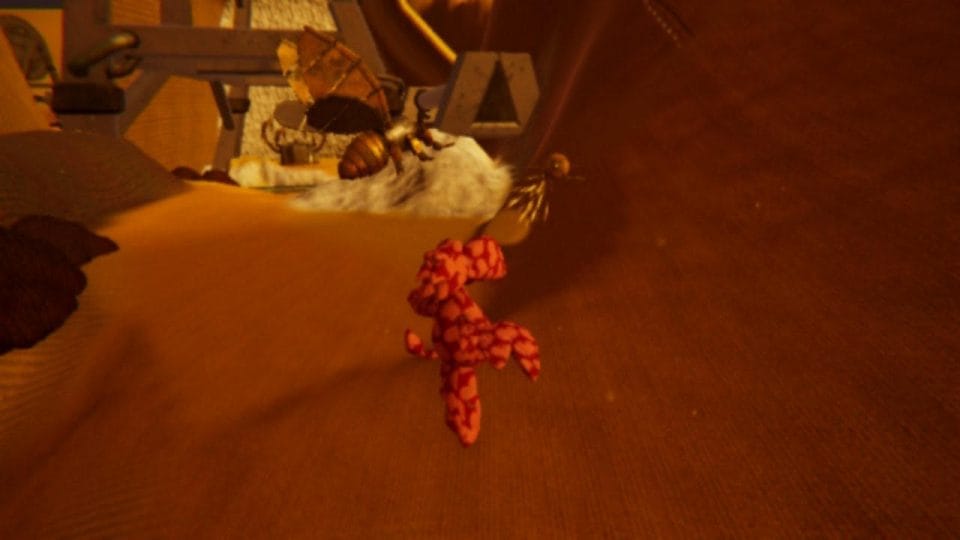
Back down the hill hugging the right side and there is a little path up, half way up the grass path changes to sand….carry on up and you will find the Armadillo from previously, scan him for pattern Armadillow.
The second Diamond Puzzle
Back down the path and turn right past the blocks you previously pushed on along staying right and up the path, on the left is a cactus to scan for the pattern Sangria.
Farther up the path you come to some cogs laying on the ground, pick one up and walk on up the path unlit you come to a push block, walk round the side of the block between the block and the slight mound. Carry on walking over the striped ground towards the machines you can see. Go right over to the machine beside the large turning cog and place the cog you picked up on to the machine.
Watch the cut scene. Turn around and go up the ramp and on to the scorpion and plug Glitch in. It’s time for another diamond puzzle, which works the same as before.
Watch the cut scene. Stand on the red pad to start the scorpion moving along the track.
Use the ramp and get off the scorpion, and go to the sewing machine and change to a cat claw and a wing and the head of the bird that sings. Go down the ramp to the new area and you will come across some lizards.
Stomp your foot to stop a lizard to scan it for pattern Cider. This can take a while as the lizards are fast moving. Look for the large brown trees on the left of the path and in the corner is a cactus plant to scan for pattern Sapphire. Go up the hill to the left of the plant you just scanned and on the left is a pattern Potato.
Carry on along the path to find a cave. Exit the cave and go back down the path you came up and into the far left corner to a pillar-like-machine which has a switch on it hit the switch and watch the cut scene. The machine opens up and some insects move the boulders from a path they are blocking. Now the path is clear go down it.
Caught in the nest
You come to a large nest and in the nest is a pattern to be scanned, quickly scan the pattern Turmeric. I got caught in the nest and was swallowed by a mechanical worm which puts you in prison….turn around and walk down the corridor until you come to a pad on the floor.
Stomp in it and go through the opened door, walk to the next door and shine Glitches’ spot light on the stand beside the door to open it. Go through the door and along the corridor in to a room go to the left door with the speaker above it and mimic the sounds it makes to open the door. Blue, green blue blue in my case.
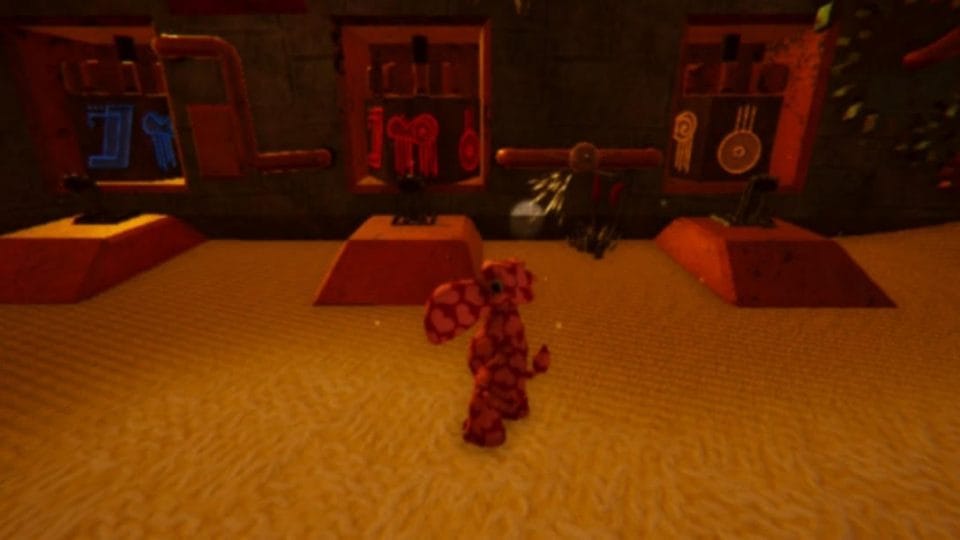
Go though the opened door and straight down the corridor and out the door, and you are back out side near to the pillar like machine. Return up the hill to the ramp to the sewing machine and change the cat arm to a bear arm and also change the other arm to an arm that lets you push and punch at the same time. It’s the top right blueprint you need to use for this. (Can’t work out what animal that is)
Make your way back to the mechanical worm nest and on the far side of it are some cogs on the ground beside a tree, be careful to avoid the worm as you will have to escape from prison again.
Diamond Puzzle number 3
Once you have a cog backtrack along the path the way you came and go past the ramp and there are three symbols on the wall, take a note of them.
Walk around the hole facing the ramp over on the right is a machine where you should plug the cog into. After that, move down the machine to the blue panel and turn this panel until it matches the first symbol you took note off, do the same for the next two panels matching them with the other two symbols. Watch the cut scene.
Head back up the ramp to to stomp on the pad to call the scorpion and plug Glitch into it and repeat the diamond puzzle. After the cut scene return across to the sewing machine as you have some more patterns to collect before you move on, change into a wing and fly past the worm nest again on to the girders and walk the the wall to find a pattern Earl to scan.
Turn right and go up the hill until you find a mechanical flying bug on the left. the bug is looking at a pipe with coloured music coming out of it, take note of the sequence as you will need it soon. I think sequence may be random but mine is red, red, green, green, and red, once you play the sequence the bug will fly up to the pillar.
Carry on up the hill to the top and go left to two dead looking trees with a pillar in between them, play the coloured music code and then go back down the hill and on the left you will find a cactus plant to scan for pattern Cream. Return to where you originally found the mechanical flying bug and go down that path that is now accessible and across the girders to the Blueprint machine to get blueprint number 2, a Lion
The last Blueprint
Back across the girders and stay left and go up the hill to a station and on the far side of the station just over from the top of the ramp is a memory for Glitch.
Go to the sewing machine and change an arm to a cat claw, go down the ramp and take a right at the end of the ramp. Stay to the left of the path and look out for a cactus plant to find pattern Pine.
Continue along the path to the snake and since you changed into the sand fashion skin at the start of this guide the snake let’s you past.
Go along the path and go right to find a pattern Purple on the wall, this is another hard to see one.
Turn around and use the lift to go up. Go Right at the top of the lift and into the cave, once you come out of the cave go forward to find a pattern on the left wall to scan pattern Matt.
Go back down on the lift and back along the path with the snake on it, once you get to the snake stay on the right side of the path and take the right path, carry on down that path until you come to some girders, on the girders and at the black background you will find a glitch’s memory machine. Cross to the other side of the girders and on the right wall just past some large cactus trees is another pattern Pigeon.
Carry on down the path up the small hill and go right and on the left on the floor is a pattern Handy…..go forward until you come to some large round cactus balls behind rose is a cactus to scan for pattern Cinamon.
Return down the path right down to the sewing machine on the right hand side, use it to change to legs to jump and continue left down the path until you come to a ledge on the right to jump up on, once up the series of ledges carry on along the path jump some more and turn right and behind the rocks is the last Blueprint machine for chapter 5…..blueprint duck.
Finding the last pattern
Head back down where you jumped up and back to the sewing machine to change legs to stomping legs and make sure you have one arm that can press buttons like the cats claw and one pushing arm.
Turn left and carry on down the path…….way down and in the darkness on the right hand side just before the machine and beside a lift you will find the last pattern Tourmaline.
From there, note the two lifts, stand facing the lift and you want to take the left one to go up. Once at the top turn around and look across to the ramp. On the left of the ramp is a blue icon take note of this as you will need to use it shortly. Below the lift on the left side on top of a machine there is another red icon to take note of as well.
Go back down on the lift and turn left and over to the machine, input the blue icon to match the one you took note off and the same with the red icon and finally the yellow icon, I couldn’t find a yellow icon anywhere to take note of so I just hit all the yellow icons until the cut scene cuts in. Below is a picture of the order I had to use, I don’t know if this is random per player or not.
After the cut scene use the lift again to go up. Up the ramp and stomp on the pad to call the scorpion, cross the ramp on to the scorpion and plug glitch in its puzzle time. Match the diamonds to the correct column line in the spindles. Watch the cut scene.
Move to the scorpions head and stomp on the red pad and the scorpion will move to the next area along the track.
Once the scorpion stops move over to the sewing machine and put the Stuffy skin on Stuffy, it’s in the last panel called Other and at the very bottom left is the pattern you want to change him to.
The End of Woven
Go down the ramp and you will see two dead trees you need to take the path that goes between the trees, carry on down that path and turn right to find a glitch’s memory machine. Return down the path you came up and at the end turn right towards the orange tunnel that has sunk in the ground now. Continue on until you come to a ball cactus on the left of the path and a machine on the right. Turn right and walk up the slight mound and on the left you will notice some more pads on the ground with the machinery and beside them on the right is a glitch’s memory machine, use it.
It’s time to stomp on the pads the same as earlier in this chapter stamp in the pads until they are all connected and the lines turn red to power up the machine.
After the cut scene walk down the corridor and you come upon a few moving cogs, walk Stuffy on the the middle moving cog as you wan to make your way down.
 When the cog moves down get off and stand on the rust coloured platform and wait for a cog to come up when it does step on to it, the cog will swirl and go down, stay on this cog until it reaches the ground and get off. Go along the short corridor and into another area with a red pit in the middle, watch cut scene.
After the cut scene continues out the other corridor and as you go up the blue ramp a cut scene starts to play……continue along the blue ramp and out the door along the the next ramp and carry on walking straight and out the door past the spiders. Once the door closes carry on up the path and watch the cut scene with the spiders and the end of the game and story.
Hi just completed Woven and I couldn’t have done it with out your impeccable walk through. Thanks so much. A very strange end to a charmingly strange game.
Hi Andy, thanks for your kind comment! We felt the same, a charmingly strange game, so we thought it needed the extra TLC of giving it a guide. I’m glad it was helpful.